Painting your house is one of the most effective ways to transform your space, enhance its aesthetic appeal, and protect surfaces from wear and tear. Whether you’re planning to refresh a single room or repaint an entire home, achieving a perfect finish involves careful planning, preparation, and execution. Below is a comprehensive guide covering everything you need to know about house painting.
Why Painting Matters
- Protection: Paint acts as a barrier against moisture, UV rays, mildew, and dirt.
- Aesthetic Appeal: A fresh coat of paint improves the overall appearance of your home, both inside and out.
- Value Addition: Well-maintained paintwork can increase property value by improving curb appeal.
- Mood Enhancement: Color choices have psychological impacts; for instance, soft blues can create calming spaces while vibrant yellows energize a room.
Key Considerations Before Starting
- Are you painting interiors, exteriors, or both?
- Determine whether you need touch-ups or complete coverage.
- Factor in costs for paint (per gallon), tools (brushes, rollers), primer, tape, drop cloths, and labor (if hiring professionals).
- Allow sufficient drying times between coats.
- Plan around weather conditions if working outdoors.
- Use proper ventilation in enclosed spaces.
- Ensure ladders and scaffolding are stable when working at heights.
Benefits of Hiring Professionals vs. DIY Painting
| Approach | Pros | Cons |
| DIY Painting | Cost-effective | Time-consuming |
| Offers creative control | Requires skill development | |
| Can be satisfying | May not achieve professional results | |
| Professional Painters | Speedy completion | Higher upfront costs |
| Access to specialized tools & techniques | Limited creative input | |
| Guaranteed quality |
Essentials for a Perfect Finish
- Clean walls to remove dust or grease.
- Repair cracks or holes with filler.
- Sand imperfections for smooth surfaces.
- Protect furniture with plastic sheets or move it out of the workspace.
- Choosing Quality Materials: Invest in premium paints and tools suited for each surface type (e.g., wood vs drywall).
- Application Technique: Work systematically—begin with ceilings before moving onto walls and trim.
By aligning proper techniques with high-quality materials and thorough preparation efforts outlined here—you’re well-positioned toward success
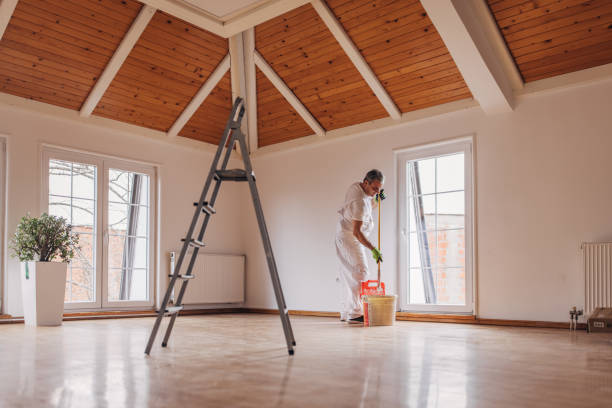
Preparing Your Space and Tools with Painters Perrysburg OH for a Successful Painting Project
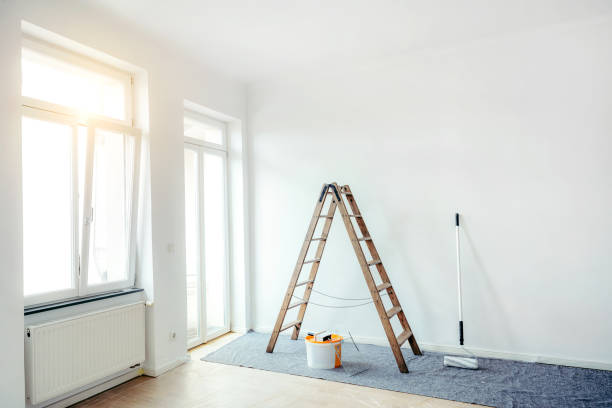
Proper preparation is key to achieving a professional-quality paint job. Before opening your first can of paint, it’s essential to organize your space and gather the right tools. This initial step not only ensures better results but also saves time and effort throughout the project.
Step 1: Clear the Area
- Remove furniture: Move as much furniture as possible out of the room or place it in the center of the space. Cover it with plastic sheets to protect against paint splatters.
- Take down wall decor: Remove any pictures, mirrors, or other decorations from walls. Don’t forget to take off hooks or nails if they won’t be reused.
- Protect nearby surfaces: Use drop cloths or heavy-duty plastic sheeting to protect floors, baseboards, and other surfaces from accidental drips or spills.
Step 2: Clean Walls and Surfaces
Dirt, grease, and dust can interfere with paint adhesion, so cleaning surfaces is an essential step in preparation. – Use warm water and mild detergent to clean walls. – For kitchen or bathroom areas where grease may be present, use a degreasing solution. – Allow surfaces to dry completely before moving on.
Step 3: Repair Imperfections
Before painting, inspect walls for damage that could impact the final finish. – Fill small holes or cracks with spackling compound using a putty knife. – Sand patched areas smooth once dry for a seamless surface. – Address peeling paint by scraping it away with a scraper or sanding block.
| Common Repairs Needed | Recommended Tools |
| Small nail holes | Spackling compound & putty knife |
| Cracked trim | Caulk gun & painter’s caulk |
| Peeling paint | Scraper & sandpaper |
Step 4: Tape Off Edges
Use painter’s tape to achieve clean lines around edges such as door frames, windowsills, and baseboards: – Apply tape carefully along edges without stretching it too tightly (this prevents lifting).
– Press down firmly along all edges of the tape to ensure proper adhesion.
Step 5: Gather Essential Tools and Supplies
Having all necessary tools ready helps maintain efficiency during painting. Ensure you have: – Quality brushes (angled brushes for corners are ideal).
– Rollers with appropriate nap lengths for your surface type (e.g., shorter nap for smooth walls).
– Paint trays or buckets with liners for easy cleanup.
| Tool/Material | Purpose |
| Drop cloths | Protect floors/furniture |
| Painter’s tape | Create clean edges |
| Putty knife | Repair wall imperfections |
| Paint roller | Cover large spaces quickly |
| Angled brush | Precision in tight areas |
Step 6: Prime Where Necessary
Not all projects require primer, but certain situations benefit from its application: – If you’re painting over dark or vibrant colors with lighter shades. – When switching between different types of finishes (e.g., glossy to matte). – For porous surfaces like new drywall.
Using these steps ensures your space is properly prepared for painting—a critical foundation for achieving professional results. Skipping preparation may lead to uneven coverage, poor adhesion, or extended labor time during painting itself.
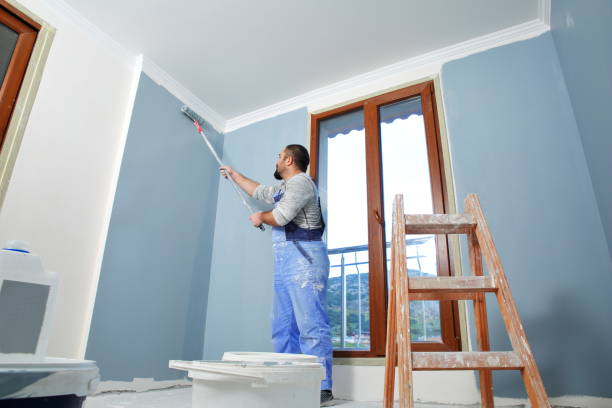
Expert Tips from a Painting Company Perrysburg OH for Perfect Interior Walls, Trim, and Ceilings
Painting interior walls, trim, and ceilings can dramatically transform the look and feel of a space. However, achieving professional results such as from painters like perrysburgpainting.net requires proper preparation, technique, and attention to detail. Below is a guide to help you navigate the painting process effectively.
Preparing the Surface
Before starting the painting process, ensure that all surfaces are clean, smooth, and ready for paint application. This critical step prevents imperfections from showing through the final coat.
- Clean walls with a damp cloth or sponge to remove dust and debris.
- Patch holes or cracks with spackling paste and sand them smooth once dry.
- Ensure old paint is not peeling; use sandpaper or a scraper to address any rough spots.
- Wipe down trim pieces with a damp cloth to remove dirt or grease.
- Sand trim lightly to create a surface that allows paint adherence.
- Fill gaps between trim and walls with caulk for a seamless finish.
- Remove cobwebs or dust with an extendable duster.
- Address any water stains using a stain-blocking primer.
Choosing Appropriate Tools
| Surface | Recommended Tools | Additional Notes |
| Walls | Roller (medium nap) | Use an extension pole for high areas |
| Trim | Angled brush (1”-2”) | Provides precision in corners |
| Ceilings | Roller (long nap) | Ideal for textured surfaces |
Investing in quality tools ensures even coverage and minimizes streaks or drips.
Painting Techniques
Walls
- Start by cutting in with an angled brush along edges where rollers cannot reach (corners or near trims).
- Use a roller to fill in larger areas using an “M” or “W” motion before smoothing out evenly.
- Apply two coats for richer color depth while allowing sufficient drying time between applications.
Trim
- Paint trims after walls but before ceilings if possible.
- Use painter’s tape along wall edges to protect against smudging onto painted surfaces.
- Apply paint in long strokes following the grain of wood trims (if applicable).
Ceilings
- Begin by cutting in edges around ceiling perimeters using an angled brush.
- Switch over towards rolling wide sections working parallel rows ensuring wet-edge overlap prevents lap lines visibility during drying cycles .
Tips for Smooth Results
- Maintain steady hand pressure across application zones avoiding excess dripping buildup – switch brushes intermittently maintain consistency overall finishes .
Expert Interior & Exterior Painting Perrysburg OH: Techniques for Flawless Results
Achieving a smooth, professional-grade finish when painting requires the right techniques and application methods. Whether you prefer traditional brushing, efficient rolling, or modern spraying, each method has unique advantages. Below is an in-depth guide on how to master these techniques.
Brushing: Precision and Control
Brushing is ideal for detailed areas like corners, trim, and edges where precision is key. Using the correct type of brush ensures better results.
Tips for Effective Brushing:
– Choose the Right Brush: Use natural bristle brushes for oil-based paints and synthetic bristles for water-based or latex paints.
– Angle Brushes for Detail Work: Angled brushes are perfect for cutting in along ceilings or baseboards.
– Avoid Overloading the Brush: Dip only the bottom third of the bristles into paint to minimize drips and achieve even coverage.
– Use Long and Steady Strokes: Apply paint with smooth motions to avoid visible brush marks.
| Brush Size | Recommended Use | Examples |
| 1-2 inches | Trim work | Window frames, door moldings |
| 3 inches | Cutting in around edges | Borders near ceilings or floors |
| 4+ inches | Large surfaces | Wide panels or large flat areas |
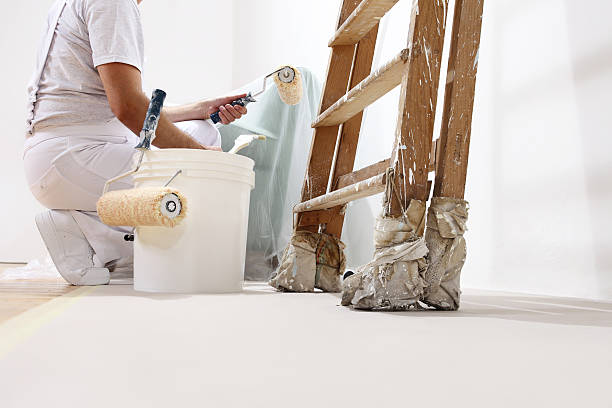
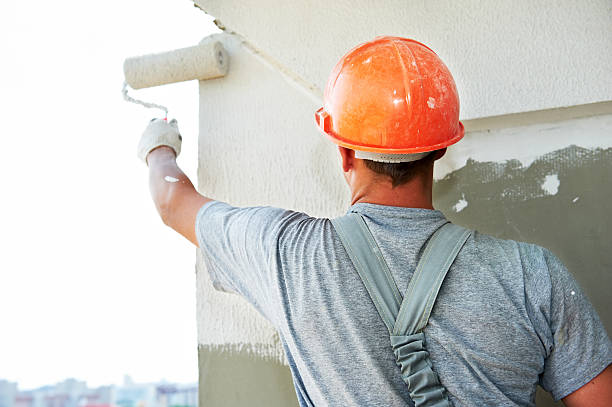
Rolling: Efficient Coverage
Rolling is a time-efficient technique that works well on large flat surfaces such as walls and ceilings. It provides even coverage over broad areas when done correctly.
Steps to Master Rolling Techniques:
1. Select the Proper Roller Cover: Use a short nap roller (¼ inch) for smooth surfaces like drywall and a long nap roller (¾ inch or more) for textured surfaces like stucco. 2. Load Paint Evenly: Roll the cover into a tray filled with paint while removing excess by rolling it on the tray’s ridged area. 3. Apply in a “W” Pattern: Start painting in a W shape to spread paint evenly before filling in gaps. 4. Work Section by Section: Avoid letting edges dry by working systematically across one section at a time.
Pro Tip: Invest in an extendable roller handle to reach high ceilings without strain or using ladders unnecessarily.
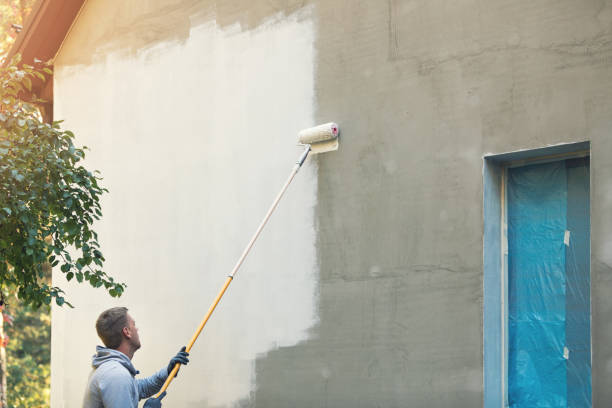
Spraying: Fast Application with Uniform Coating
Spraying is excellent for covering large areas quickly while ensuring uniform application without visible strokes or lines. This method works particularly well on exterior walls, furniture, or intricate designs where other tools might struggle.
Key Considerations When Spraying Paint: – Use Correct Equipment: Airless sprayers are ideal for thicker coatings like latex paints, while HVLP (high-volume low-pressure) sprayers perform better with thinner finishes such as stains. – Maintain Consistent Distance: Hold the sprayer nozzle 10–12 inches away from your surface while keeping it parallel throughout application. – Apply Thin Layers: Multiple thin coats create better adhesion compared to one heavy coat that may drip. – Protect Adjacent Areas: Mask off windows, trim work, and flooring before spraying since overspray can be difficult to control.
| Method | Best For | Not Ideal For |
| Brushing | Small details; trim; touch-ups | Large flat surfaces |
| Rolling | Walls; ceilings; medium textures | Narrow corners; fine details |
| Spraying | Furniture; exteriors; cabinetry | Tight spaces requiring precision |
Combining Methods
For most projects, combining these techniques produces optimal results. For example:
– Use brushing for edges and corners that rollers cannot reach effectively. – Roll larger areas like walls after cutting in with a brush along borders. – Spray intricate designs or objects requiring seamless finishes.
By understanding each approach’s strengths and limitations—and applying them strategically—you can achieve flawless results no matter your project scope.
Professional Painting Techniques: Brushing, Rolling, and Spraying for Smooth Results
Mastering professional painting techniques is essential to achieving a smooth, even, and durable finish. Whether you’re working on walls, trim, or furniture, understanding the unique aspects of brushing, rolling, and spraying will help you choose the right method for your project. Below is a breakdown of these techniques along with tips and best practices.
Brushing: Precision and Control
Brushing is a classic technique used in both detailed work and smaller areas. It’s particularly effective for painting edges, trims, corners, and uneven surfaces.
Key Benefits:
– Provides excellent control in tight spaces.
– Ideal for detail work such as cutting-in around edges or window frames.
– Works well on textured or intricate surfaces like moldings.
Tips for Effective Brushing:
1. Choose the right brush: Use synthetic brushes for water-based (latex) paints and natural bristle brushes for oil-based paints.
2. Dip wisely: Immerse only one-third of the bristle length into the paint to avoid overloading your brush.
3. Apply light strokes: Use even pressure to create smooth lines and avoid visible brush marks. 4. Work slowly: Take your time with detail areas to ensure clean edges.
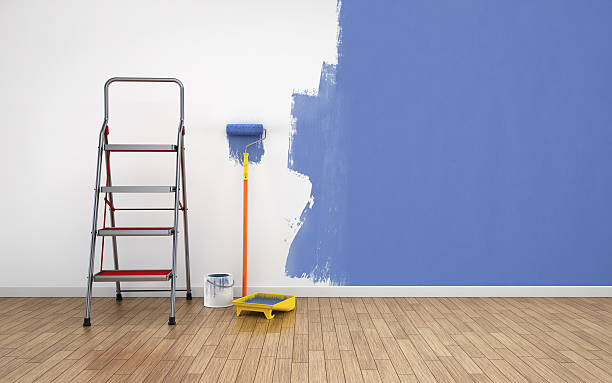
Rolling: Efficiency for Large Surfaces
Rolling is ideal for covering large flat areas such as walls and ceilings quickly while achieving an even finish.
Key Benefits:
– Covers large surfaces efficiently.
– Reduces visible streaks when done correctly compared to brushing alone. – Creates consistent texture depending on the roller nap used (e.g., smooth or stippled).
Tips for Effective Rolling:
1. Select the correct roller nap size: For smooth walls, use a short nap (1/4 inch). For textured walls or ceilings, opt for longer naps (3/8 inch or more).
2. Load evenly: Roll the roller into a tray until evenly covered but not dripping with paint. 3. Use a ‘W’ motion: Start by creating a “W” shape on the wall before filling in the gaps with vertical strokes to avoid lap marks. 4. Overlap lightly: Overlap each pass slightly to maintain uniform coverage.
| Surface Type | Recommended Nap Size | Roller Material | Example Paint Type |
| Smooth Walls | 1/4 inch | Foam | Satin/Latex |
| Textured Walls | 3/8 to 1/2 inch | Synthetic Blend | Eggshell/Semi-gloss |
| Ceilings | 3/4 inch | Polyester-Wool Blend | Flat |
Spraying: Speed and Uniformity
Spraying is commonly used in professional settings where speed and flawless coverage are critical—ideal for large projects like exterior walls or cabinets.
Key Benefits:
– Delivers an ultra-smooth finish without visible marks from brushes or rollers. – Covers hard-to-reach areas effectively (e.g., corners or high ceilings). – Saves time on expansive surfaces compared to other methods.
Tips for Effective Spraying:
1. Prepare thoroughly: Mask off all surrounding areas (windows, floors) as overspray can spread widely. 2. Maintain proper distance: Hold the sprayer nozzle about 6–12 inches away from the surface at all times. 3. Keep steady motion: Move your arm consistently side-to-side while overlapping strokes by about 50%. 4. Use thin coats: Apply multiple light coats instead of one thick layer to prevent drips.
Choosing Between Techniques
| Technique | Best For | Time Efficiency | Finish Quality |
| Brushing | Edges & small details | Moderate | High Precision |
| Rolling | Large flat surfaces | High | Uniform Texture |
| Spraying | Complex shapes & cabinets | Very High | Flawless & Smooth |
By understanding these techniques’ advantages and best practices, you can elevate your painting skills while ensuring top-notch results tailored perfectly to each project’s needs.
- The Ultimate Guide to House Painting Perrysburg OH: Everything You Need for a Perfect Finish
- Understanding the Services Offered by a Painting Company Perrysburg OH for Interior and Exterior Projects
- Key Signs It’s Time for Interior & Exterior Painting Perrysburg OH and How Often to Repaint Your Home
- How Often Should You Hire Painters Perrysburg OH for Interior and Exterior Painting
- Painters Perrysburg OH: Everything You Need to Know About House Painting Tips and Techniques
- Expert Tips from a Painting Company Perrysburg OH: Transform Your Space
- Finding the Best Painters Perrysburg OH: A Comprehensive Guide for Interior Painting Beginners
- How Often Should You Hire a Painting Company Perrysburg OH to Keep Your Home Looking Fresh and Vibrant